This page contains affiliate links. If you purchase through them we may earn a small commission at no extra cost to you. Learn more
Fogstar Seplos Kit Build Guide: Step-by-Step Assembly
What's in the kit?
The Fogstar Seplos kit is a middle ground between buying raw cells and buying a fully assembled Drift battery. You get:
- 16x EVE LF280K cells — Grade-A, capacity-matched, from Fogstar's UK stock
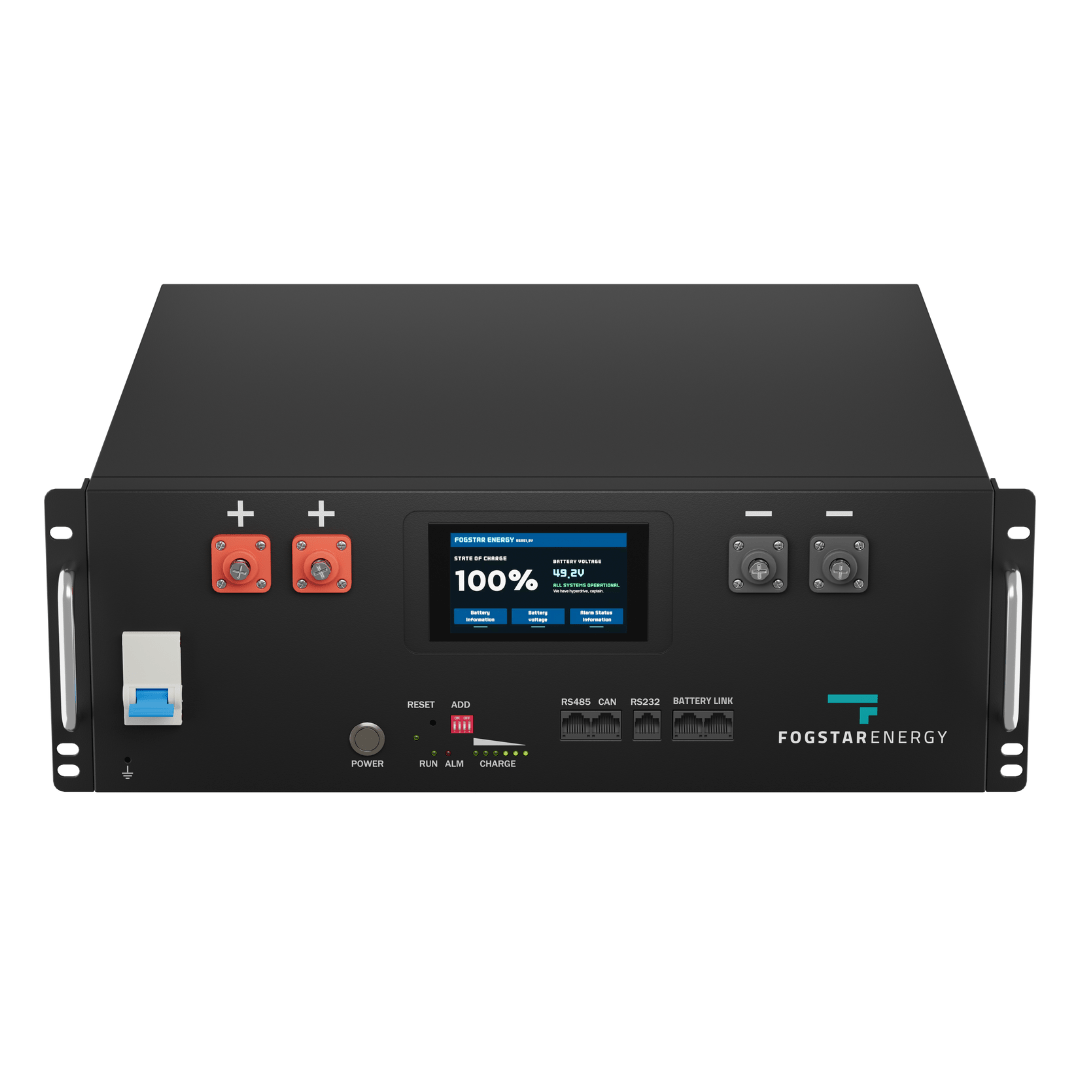
- Seplos V3 BMS board — pre-configured for 16S LiFePO4
- Metal enclosure — 19-inch rack-mount format (3U height)
- Bus bars — nickel-plated copper, pre-cut for the 16S configuration
- Compression hardware — end plates, threaded rods, and nuts
- Wiring harness — BMS cell voltage sense wires, pre-terminated
- Terminal block — main positive and negative output terminals
- RJ45 CAN bus cable
What you need to supply:
- Torque wrench (10mm socket, 10–15 Nm range)
- Multimeter
- Insulated tools (spanners, screwdriver)
- Electrical tape and cable ties
- 2–3 hours of focused time
The kit typically costs £900–£1,200 depending on current cell pricing — roughly £200–£400 less than buying the equivalent pre-assembled Drift unit.
Before you start
Safety preparation
You're working with cells that can collectively deliver thousands of amps into a short circuit. Take this seriously:
- Remove all jewellery — rings, watches, bracelets. A metal ring bridging battery terminals will weld to your finger before you can react.
- Use insulated tools — wrap exposed tool surfaces with electrical tape if dedicated insulated tools aren't available.
- Work on a non-conductive surface — wooden workbench is fine. Not a metal table.
- Keep the cells separated until you're ready to connect them — don't let terminals touch accidentally.
- Have a fire extinguisher accessible — a CO2 or dry powder extinguisher, not water (though water is actually effective on LFP).
This is a real electrical assembly project
Each LF280K cell stores 896Wh of energy. Sixteen cells in series at 51.2V can deliver fault currents exceeding 5,000A. A misplaced tool or accidental short circuit can cause severe burns, arc flash, or fire. If you're not comfortable working with high-current DC systems, buy the pre-assembled Drift instead. There's no shame in paying for professional assembly.
Inspect everything
Before assembly:
- Check all 16 cells — look for dents, swelling, damaged terminals, or corrosion
- Measure cell voltages — all cells should read 3.28–3.32V. Note any outliers.
- Verify cell matching — check the grading data sheet included with the kit. All cells should be within 2Ah of each other.
- Check the BMS board — no damaged components, all connectors present
- Count all hardware — bus bars, bolts, nuts, sense wires. Missing a single bus bar halts the build.
Step-by-step assembly
Step 1: Cell arrangement
Arrange the 16 cells in the enclosure in alternating orientation — positive terminal facing left, negative facing left, positive facing left, and so on. This allows the bus bars to connect adjacent cells in series with minimal cable length.
The terminals should alternate: +/- | -/+ | +/- | -/+ and so on across the 16-cell string.
Check the enclosure diagram included with the kit — Fogstar includes a cell placement guide specific to the Seplos enclosure.
Step 2: Apply compression
LiFePO4 prismatic cells swell slightly during cycling. Without compression, this swelling reduces cycle life and can cause internal delamination.
- Place the end compression plates against the first and last cells
- Insert the threaded rods through the end plates
- Tighten the nuts finger-tight first
- Using a torque wrench, tighten to 15 Nm in a star pattern (alternating between rods)
- The cells should be firmly compressed but not crushed — you should see slight compression of any cell padding
The Seplos enclosure has built-in compression features on some versions. Follow whichever compression method is provided with your specific kit.
Step 3: Install bus bars
This is where you connect the cells in series. Each bus bar bridges the positive terminal of one cell to the negative terminal of the next.
- Do NOT install the first and last bus bars yet — leave the pack in an open-circuit state until the BMS is connected
- Start from one end and work across, bolting each bus bar to two adjacent cell terminals
- Torque each bus bar bolt to 10 Nm — this is critical. Under-torqued connections create resistance and heat.
- After each bus bar, measure the voltage across the connected pair to verify polarity. You should see approximately 6.4V across each pair.
Step 4: Connect the BMS sense wires
The BMS needs to monitor each individual cell voltage. The sense wire harness has 17 wires (for 16 cells — one wire per cell terminal, plus a common).
- Connect the sense wires to the cell terminals according to the diagram — B0 to the most negative terminal, B1 to the next, and so on up to B16
- Secure the sense wires with cable ties to prevent them from contacting bus bars or cell terminals
- Double-check the order — a sense wire on the wrong terminal can damage the BMS
Step 5: Connect temperature sensors
The Seplos BMS includes two NTC temperature sensors. Tape them to cells at the 1/3 and 2/3 positions along the string, ensuring good thermal contact with the cell casing. Secure with Kapton tape (not PVC tape, which can melt at higher temperatures).
Step 6: Connect main power cables

- Connect the main negative cable from the B- terminal of the BMS to the pack negative output terminal
- Connect the main positive cable from the pack positive (cell 16 positive) to the P+ terminal of the BMS, then to the pack positive output terminal
- The Seplos BMS sits in the current path — all charge and discharge current flows through it
Step 7: Final bus bar and power-on
- Install the final bus bar(s) to complete the series string
- Measure the total pack voltage at the output terminals — should be approximately 51.2–53V
- The BMS should power on automatically — the LED indicators will show status
- Verify the BMS is reading all 16 cell voltages via the Bluetooth app
First power-on checklist
Before connecting anything to the pack output: verify pack voltage is correct (51.2–53.6V), verify all 16 cell voltages appear in the BMS app, verify temperature readings are sensible, and verify the BMS is not showing any fault codes. Only then proceed to connect the inverter.

BMS configuration
Connect to the Seplos BMS via Bluetooth using the Seplos app (iOS or Android).
Key settings to verify or configure:
| Parameter | Recommended value |
|---|---|
| Cell overvoltage protection | 3.65V |
| Cell overvoltage recovery | 3.55V |
| Cell undervoltage protection | 2.50V |
| Cell undervoltage recovery | 2.80V |
| Charge overcurrent | 100A |
| Discharge overcurrent | 100A |
| Charge temperature low cutoff | 0°C (or 5°C for safety margin) |
| Charge temperature high cutoff | 45°C |
| Balance start voltage | 3.40V |
| Balance delta | 10mV |
For CAN bus communication with your inverter, set the protocol to match your inverter brand (GivEnergy, Victron, etc.) — see our CAN bus guide for details.
Commissioning
Initial charge
- Connect the battery to your hybrid inverter via DC cables and CAN bus RJ45
- Set the inverter to charge the battery from the grid at a low rate (0.2C — about 1kW for a 5kWh battery)
- Monitor cell voltages via the BMS app during the first charge
- All cells should rise together. If one cell rises noticeably faster than others, stop and investigate — it may have lower actual capacity than expected
First full cycle
- Charge to the BMS-set upper limit (typically 54.4V / 3.4V per cell)
- Let the battery rest for 30 minutes
- Check cell balance — all cells should be within 20mV at full charge
- Discharge through normal home use until the BMS low-voltage protection activates
- The first cycle helps the BMS calibrate its SoC estimate
Ongoing monitoring
Check the BMS app weekly for the first month, then monthly thereafter:
- Cell voltage spread (should be under 30mV at any given time)
- Temperature readings (should match ambient roughly)
- Cycle count and SoH
For a compatible hybrid inverter to pair with your Fogstar Seplos build:
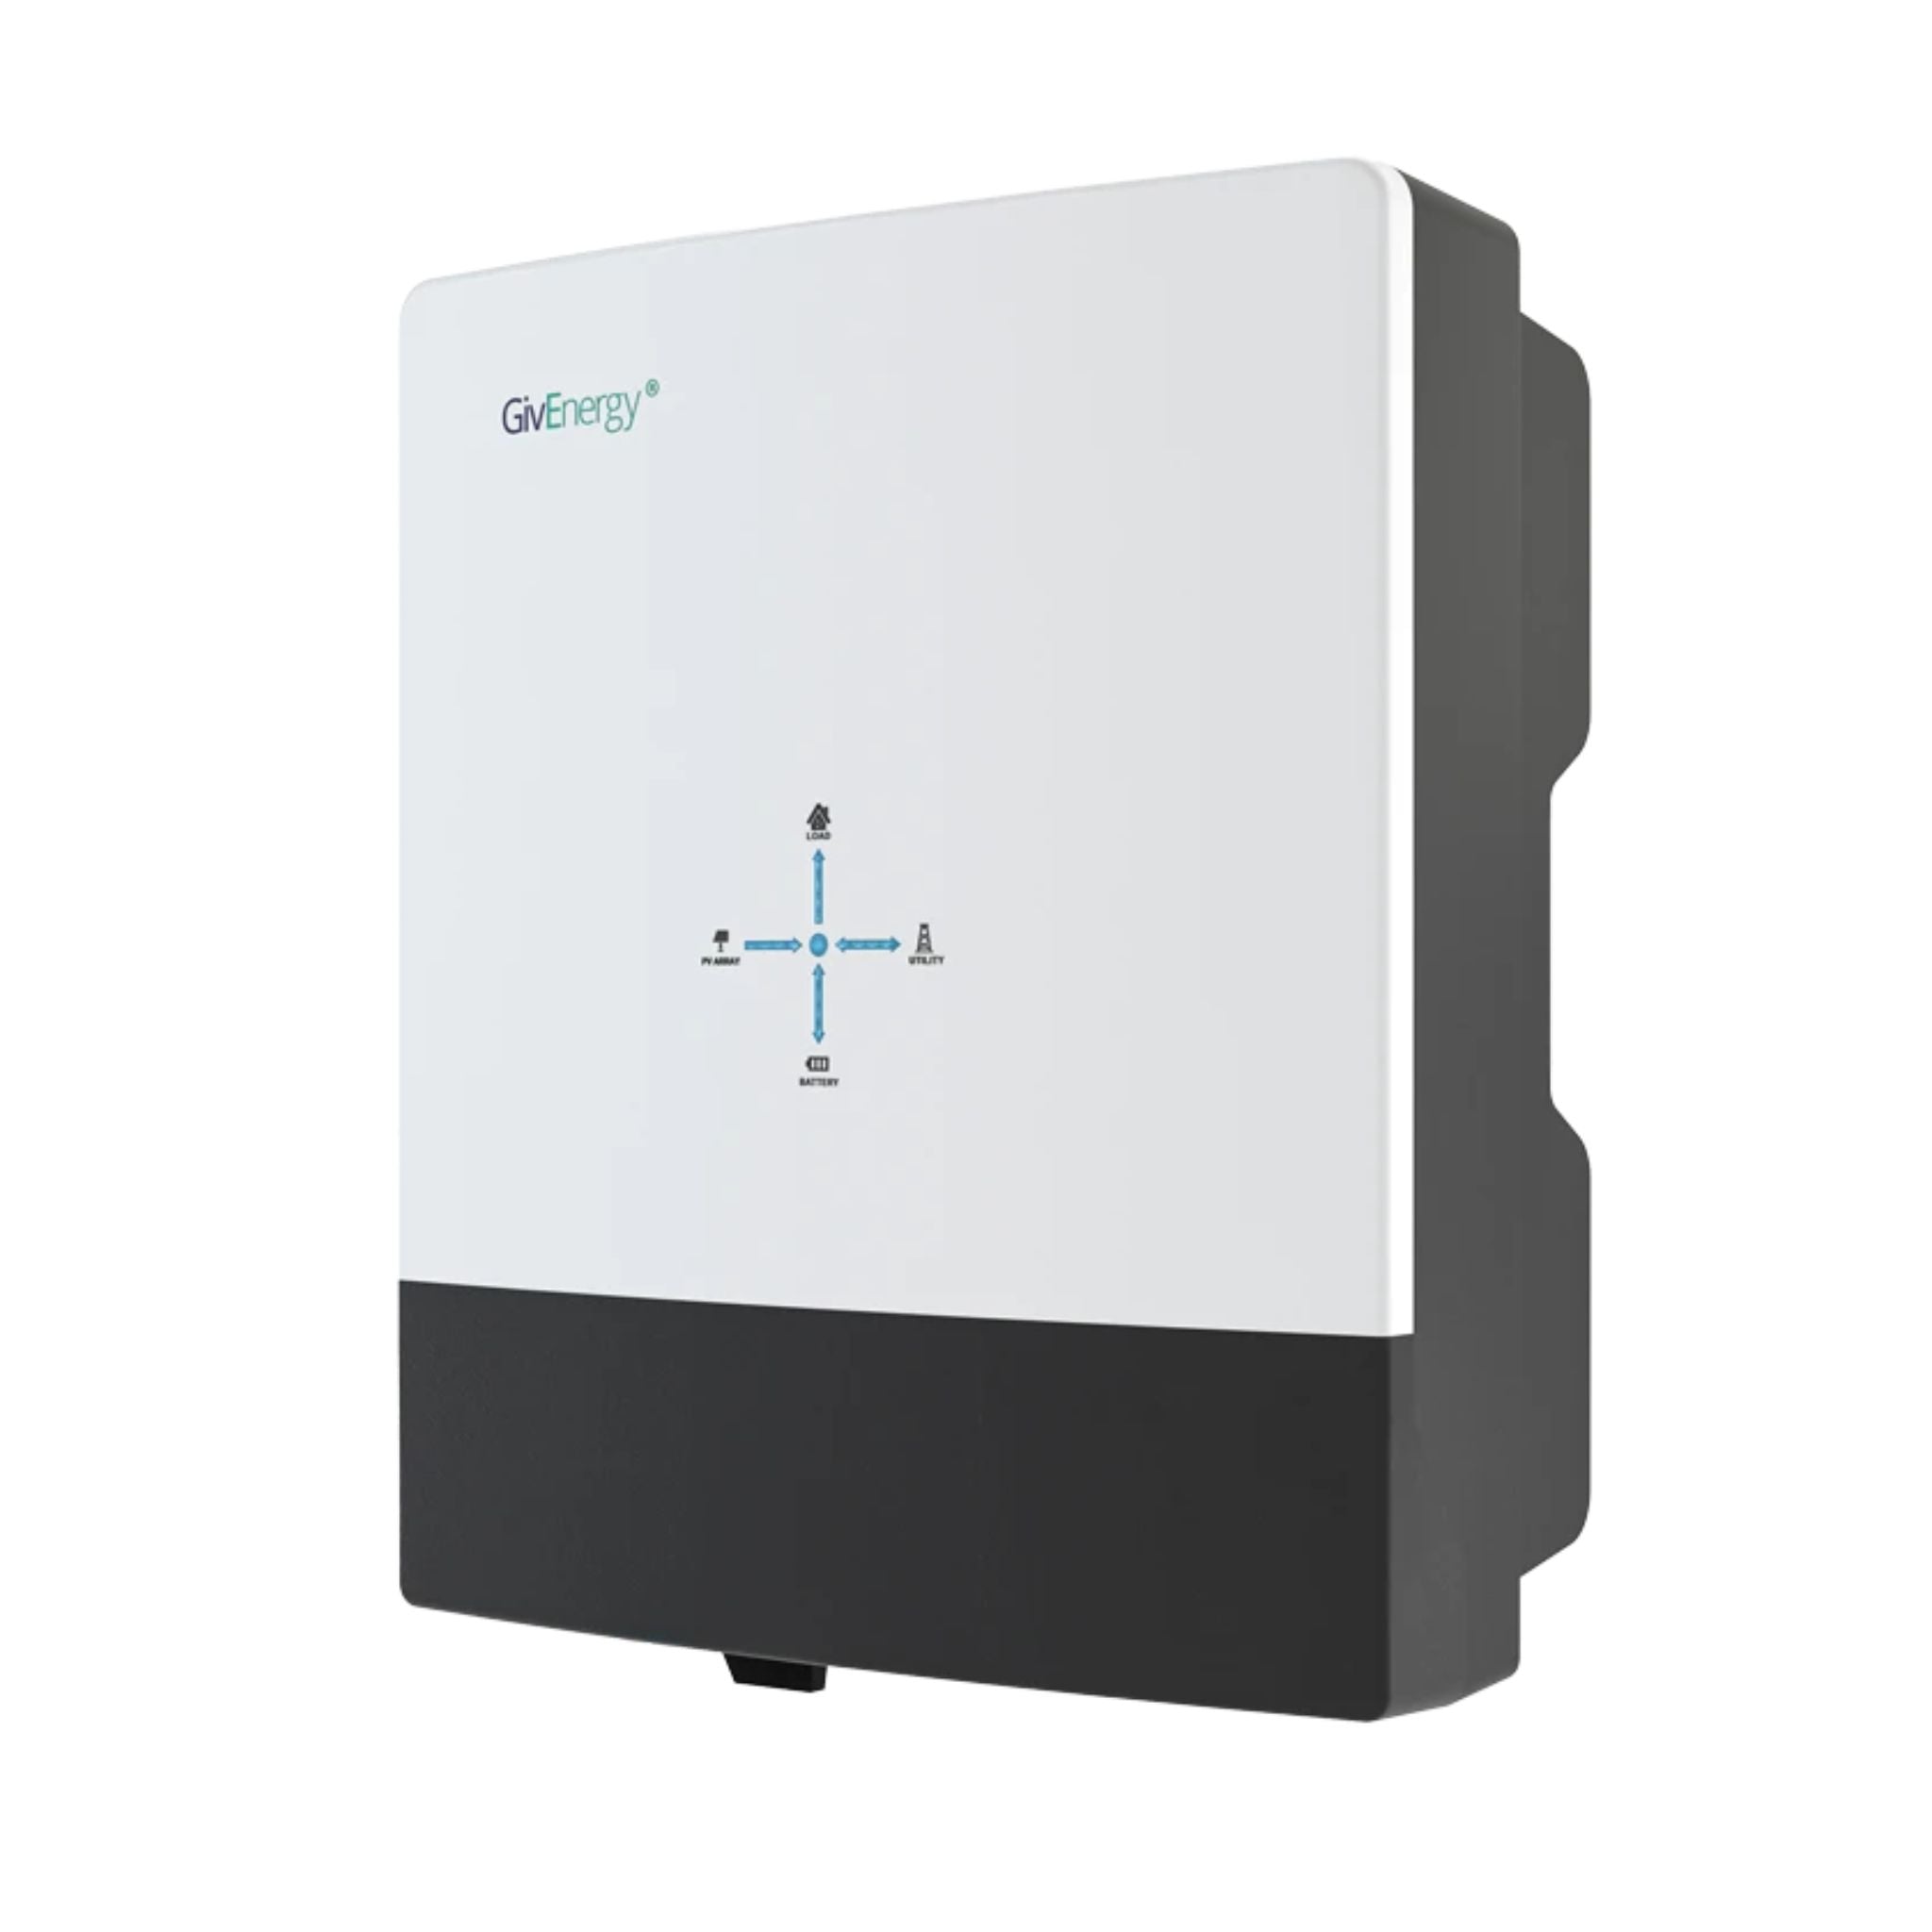
GivEnergy All-in-One 5kW Hybrid Inverter
£1,2005
7.5
2
48V
Affiliate link — we may earn a small commission at no extra cost to you
Common build issues
BMS not powering on — check that all sense wires are connected and in the correct order. A missing or reversed sense wire can prevent BMS startup.
One cell reading significantly different — usually a loose bus bar connection or sense wire issue. Re-check connections at that cell position.
CAN bus not communicating — verify the protocol setting, cable connections, and pin assignments. See the CAN bus troubleshooting section.
Rattling in enclosure — cells not adequately compressed. Re-check compression hardware torque.
The Fogstar Seplos kit is a well-engineered product that produces a professional-quality battery when assembled correctly. Take your time on the first build, double-check every connection, and you'll have a battery that rivals any pre-assembled unit at a lower price.
Fogstar Drift 5.12kWh LiFePO4 Battery
£1,5005.12
5
LFP
6000
Affiliate link — we may earn a small commission at no extra cost to you
Share this article
OVO has carefully selected trusted teams across the UK to install solar panels and heat pumps. Enjoy the personal touch of a local expert with the peace of mind of a household name.
Affiliate link — we may earn a small commission at no extra cost to you
Stay informed
Get free solar updates direct to your inbox
Related reading
Fogstar Drift Battery Review: Is It Worth the Premium?
Honest review of the Fogstar Drift LiFePO4 battery — specs, real-world performance, compatibility, and whether it justifies the price for UK DIY solar setups.
DIY Battery Wiring & Fusing: Cable Sizing, Fuse Selection, and Safety
How to correctly wire and fuse a DIY LiFePO4 solar battery system in the UK — cable sizing, fuse types, isolators, and common mistakes to avoid.

Battery CAN Bus & RS485 Protocols: Making Batteries Talk to Inverters
How CAN bus and RS485 communication protocols work between DIY batteries and hybrid inverters — practical guide for UK solar battery builders in 2026.

Switch to Octopus Energy
Get 50 credit when you switch. We get 50 too — win-win.
What does this mean for YOUR home?
Design your perfect solar setup in under 3 minutes. Free, no sign-up required.
Build Your Solar System