This page contains affiliate links. If you purchase through them we may earn a small commission at no extra cost to you. Learn more
Running Solar Cable to Your Garden: Trench Depth, Armoured Cable, and Regs

When do you need an outdoor cable run?
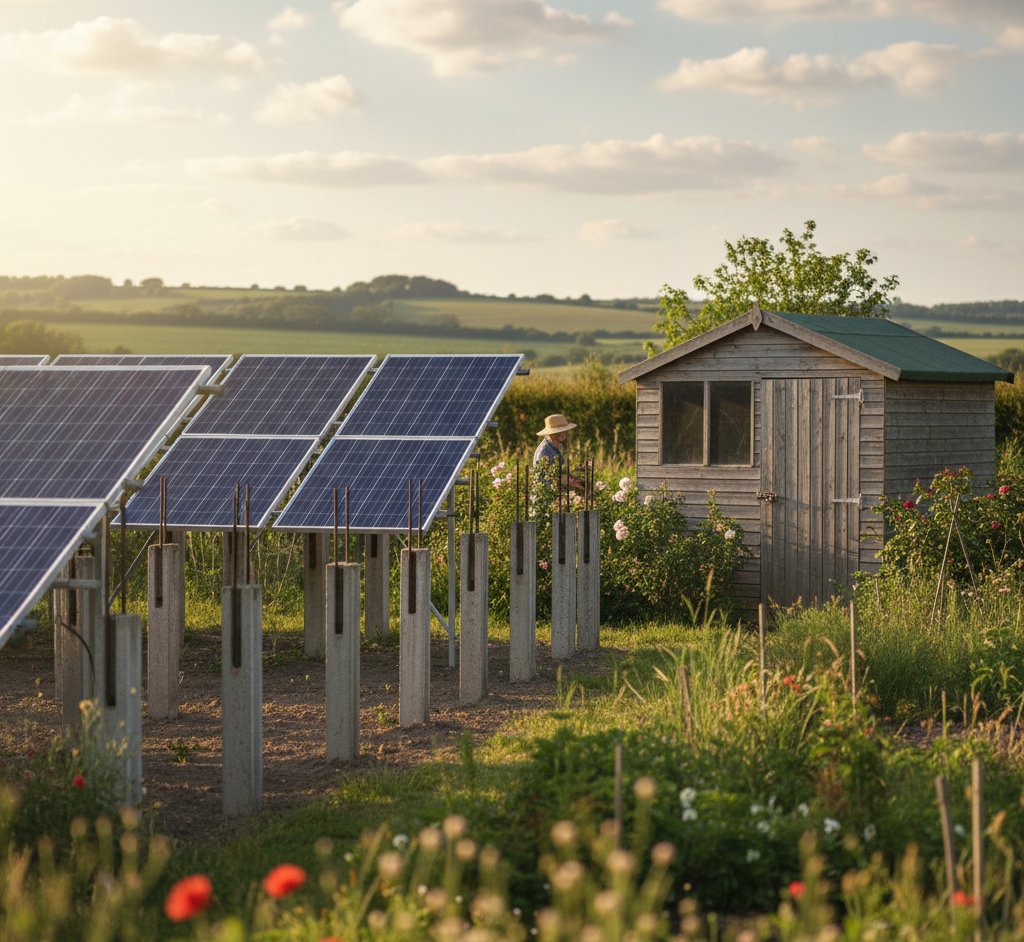
Not every solar installation stays neatly on the roof. As UK homeowners explore ground-mounted panels, garden offices with solar, and fence-mounted arrays, the question of how to get DC or AC power from A to B across a garden becomes unavoidable.
Common scenarios include:
- Ground-mounted panels in the garden feeding back to an inverter in the garage or house
- A shed or garden office powered by its own solar panels, with surplus fed back to the house
- Fence-mounted panels along a boundary, with cabling running back to the main system
- An existing inverter that needs extending to reach a new battery or consumer unit
In each case, the cable has to cross open ground — either buried underground or routed on the surface. Both approaches are covered by UK electrical regulations, and getting them wrong carries real safety and legal consequences.
BS 7671 Regulation 522.8.10 — the specific rule
The go-to reference for cable burial in the UK is BS 7671 Regulation 522.8.10, which forms part of the IET Wiring Regulations (18th Edition). It sets out the minimum depth at which cables must be buried depending on what is above them.
| Surface above the cable | Minimum burial depth |
|---|---|
| Garden soil or grass | 450 mm |
| Driveways, paths, and patios | 600 mm |
| Areas subject to vehicular traffic | 600 mm minimum — consider 900 mm for heavy vehicles |
These depths exist because at shallower depths the cable is vulnerable to garden forks, spades, ground screws, fence post augers, and similar garden tools. At 450 mm you are well below the reach of most hand tools. At 600 mm you are clear of typical path edging and root activity.
Warning tape
Burying cable is not enough on its own. You must lay yellow warning tape printed with "CAUTION: ELECTRIC CABLE BELOW" (or similar wording) in the trench, positioned 150 mm above the cable — so approximately 300 mm below the surface for a garden installation. This alerts anyone digging in the area before they reach the cable itself.
Cable route markers
At every point where the cable terminates (at the panel array end and the inverter or consumer unit end) and at every change of direction, a durable cable route marker must be installed at the surface. These are typically coloured marker posts or flush surface plates. They are easy to overlook but required under the same regulation — and genuinely useful years later when you or a future owner is trying to understand what is buried where.
Photograph before you backfill
Before shovelling the soil back in, photograph the full cable run from above. Mark the route on a rough garden sketch and keep it with your installation paperwork. This costs you two minutes and could save a landscaper (or you) from digging through a live cable ten years from now.
Armoured cable (SWA) vs conduit — which should you use?
Steel Wire Armoured cable (SWA)
SWA cable has a layer of steel wire armour woven around the insulated cores, underneath an outer PVC sheath. This armour provides mechanical protection against crushing and penetration, which means SWA can be directly buried in soil without any additional conduit. It is the standard professional choice for permanent outdoor underground runs.
For the DC side of a solar installation, you will typically use an SWA cable with cores rated for DC use, or run your H1Z2Z2-K PV cable inside conduit (SWA itself is not a PV-rated cable in the solar-specific sense — more on that below). For the AC side, 6242Y twin-and-earth in SWA form or standard SWA armoured mains cable is appropriate.
SWA is more expensive per metre than plain cable-in-conduit, but the installed cost difference shrinks once you factor in labour — SWA goes in faster because you do not have to pull cable through pipe.
Conduit (PVC or corrugated)
Rigid 20–25 mm PVC conduit or corrugated flexible conduit provides the mechanical protection instead. The cable inside can be a standard PV cable (H1Z2Z2-K) on the DC side, or appropriately rated mains cable on the AC side. Conduit is generally cheaper for materials and is easier to plan for shorter or awkward runs, but requires careful installation: joints must be sealed, the conduit must be slightly oversized to allow cable to pull through cleanly, and any moisture entry points should be sealed at terminations.
For runs shorter than about 5 m — for example, passing through a wall or under a path edge — conduit is entirely acceptable and often simpler than sourcing SWA at short lengths.
DC cable (H1Z2Z2-K) and burial
Standard H1Z2Z2-K solar DC cable is double-insulated and UV-rated, but it is not rated for direct burial without mechanical protection. If you are burying the DC side of a panel-to-inverter run, the cable must go inside conduit (even if the conduit itself is not SWA). This is a common oversight in DIY ground-mount installations.
| Method | Best for | Key advantage | Key limitation |
|---|---|---|---|
| SWA direct burial | Permanent runs >5 m | No conduit needed; robust | Higher material cost; harder to modify later |
| H1Z2Z2-K in conduit | DC runs, shorter distances | Correct PV cable rating maintained | Conduit must be sealed; slightly more labour |
| Conduit only (AC side) | Short runs, under 5 m | Cheap, accessible | Less robust over long distances |
Part P Electrical Work
Burying mains-voltage (AC side) cable in the ground is notifiable electrical work under Part P of the Building Regulations in England. You need either a competent person registered with a scheme such as NICEIC, NAPIT, or ELECSA, who can self-certify their own work, or you must notify your local Building Control authority and arrange an inspection. This is not optional — it is a legal requirement that also affects home insurance and future property sales.
DC cable burial (panel to inverter, before the inverter) sits under BS 7671 Section 712 (the solar PV installation chapter) rather than Part P's notifiable scope, but must still comply with burial depth and protection rules. If in doubt, have the whole installation signed off by a registered electrician — it removes all ambiguity.
Surface-mount alternatives
Trenching is not always practical. You may have an established garden, concrete patios, or a landlord situation that rules out digging. Surface-mount cable management is a legitimate alternative, provided the materials are appropriate for outdoor use.
UV-rated trunking
Plastic cable trunking rated for outdoor UV exposure can be fixed along fence lines, walls, or building perimeters. It keeps the cable tidy, accessible for inspection, and easy to modify if you add panels later. The downside is that even UV-rated PVC degrades over many years, and trunking close to the ground can trap moisture if not properly clipped and sealed.
Overhead catenary wire
A catenary wire (a tensioned steel messenger wire) is strung between two fixing points — typically the house and an outbuilding. The cable is clipped or bound to the catenary wire so the steel wire, not the cable, takes the mechanical load. This is the cheapest and fastest outdoor cable method and is used widely in agricultural settings. It is effective, but not particularly attractive in a domestic garden.
Wall-mounted clip runs
Fixing cable with UV-rated clips along an existing wall, following the building perimeter back to the entry point, is tidy when the cable can follow a logical route without spanning open ground. This works well for fence-mounted panels that are adjacent to a house wall.
Comparison at a glance
| Method | Material cost | Labour | Durability | Aesthetics |
|---|---|---|---|---|
| Direct burial (SWA) | £££ | Medium | Excellent — 25+ years | Invisible |
| Cable in conduit (buried) | ££ | Higher | Very good | Invisible |
| UV trunking (surface) | £ | Low | Good — 10–15 years | Neat |
| Catenary wire | £ | Low | Good — 15+ years | Industrial |
| Wall clip run | £ | Low | Good | Depends on route |
Professional trenching typically costs £30–50 per metre including excavation, bedding, and backfill. If you hire a mini-digger for a day (around £150–200), you can cover a significant run yourself at a fraction of that cost, though it is hard physical work. Surface trunking materials run to roughly £2–5 per metre for UV-rated outdoor grade.
Before you dig — locate existing services
Check for underground services before digging
Gas pipes, water mains, electricity cables, and telecoms ducts may already be buried in your garden, sometimes at surprisingly shallow depths. Before breaking ground, check with your council's records or use a cable avoidance tool (CAT scanner) to sweep the route. Striking a gas pipe or live mains cable while digging is genuinely life-threatening. This step is not optional.
Utility plans are available from:
- Your local council (some publish GIS layers online)
- The LSBUD (Lines Search Before U Dig) website — a free UK service for locating buried infrastructure
- On-site cable avoidance tool hire (typically £50–80/day from tool hire companies)
Always sweep across the intended trench line, not just along it — existing cables may not run in straight lines.
Practical installation tips
- Sand bedding: Place a 50 mm layer of sharp sand in the bottom of the trench before laying the cable. Add another 50 mm of sand above the cable before placing warning tape. Sand cushions the cable and avoids sharp stones cutting the sheath during backfill.
- Slack in the trench: Lay the cable in a gentle S-curve along the trench bottom rather than pulled tight. This gives the cable room to move with ground freeze/thaw without putting strain on terminations.
- Test before backfilling: If possible, energise the circuit (DC or AC) and confirm it is working before closing the trench. Re-excavating to fault-find is extremely frustrating.
- Label both ends: Mark every cable end clearly with durable cable labels indicating the circuit and the voltage type (DC or AC). Future you — and any electrician working on the system later — will thank you.
Related guides
If you are planning a ground-mount installation or connecting solar to an outbuilding, the following articles cover the broader context:
- MC4 connectors and PV cable types — cable ratings, sizing, and connector compatibility
- PV cable types explained — H1Z2Z2-K, SWA, and when to use each
- Ground-mounted solar panels — siting, foundations, and system design
- Shed and garden office solar — powering outbuildings with their own array
- Fence-mounted solar panels — vertical mounting, cable runs, and planning considerations
Share this article
Stay informed
Get free solar updates direct to your inbox
Related reading

MC4 Connectors Explained: Types, Crimping, and Compatibility
MC4 solar connectors explained for UK DIYers. Types, crimping guide, compatibility warnings, and where to buy genuine connectors.

Solar PV Cable UK: Types, Sizes, and Where to Buy
H1Z2Z2-K solar cable explained. Sizing guide for 2.5, 4, and 6mm DC cable, voltage drop, and cheapest UK suppliers.
Ground-Mounted Solar Panels UK: When and Why
Ground-mounted solar panels explained for UK homeowners. When ground mount makes sense, costs, planning permission rules, and practical considerations.

Switch to Octopus Energy
Get 50 credit when you switch. We get 50 too — win-win.
What does this mean for YOUR home?
Design your perfect solar setup in under 3 minutes. Free, no sign-up required.
Build Your Solar System