This page contains affiliate links. If you purchase through them we may earn a small commission at no extra cost to you. Learn more
DIY Battery Enclosures: Housing Your Solar Battery Safely

Why enclosures matter
A battery enclosure serves two purposes: it protects the battery from physical damage, and it protects your home from the battery if something goes wrong. It's also a practical requirement — loose cells and wiring on a shelf are an accident waiting to happen.
For insurance purposes, a proper enclosure demonstrates that you've taken reasonable steps to contain any potential incident. This matters if you ever need to make a claim. More on insurance implications.
Option 1: Standard server rack
The most popular enclosure for rack-mount DIY batteries. Server-rack format LiFePO4 modules (Fogstar Drift, EcoWorthy, etc.) are designed to fit 19-inch racks.
What to buy
A basic open-frame or enclosed 12U–18U network rack from Amazon or a data centre supplier. Costs £80–£200 depending on size and quality.
Recommended size:
- 2 battery modules (10kWh): 12U rack minimum
- 4 battery modules (20kWh): 18U rack minimum
- Allow space for the inverter, wiring, and fuses above or below the batteries
Key features to look for:
- Adjustable shelf/rail depth (to accommodate different module depths)
- Lockable door (if children or untrained people have access)
- Cable management features
- Castors or wall-mounting options
Modifications for battery use
Standard server racks are designed for IT equipment, not batteries. You'll likely need to:
- Add ventilation — most enclosed server racks have fan mounts. Install at least one extraction fan at the top. Even passive ventilation (open mesh top and bottom) is better than a sealed enclosure.
- Reinforce shelving — battery modules weigh 48–55kg each. Standard rack shelves are rated for 30–50kg. Use heavy-duty shelves or support the modules from the rack rails.
- Add fire-resistant lining — line the inside with 12mm fire-rated plasterboard or cement board. This provides 30–60 minutes of fire resistance.
The IKEA Hejne hack
For budget builds, some UK DIYers use the IKEA Hejne shelving unit (£25) as a battery rack frame, adding plywood sides and a fire-resistant lining. It's functional but not as clean as a proper server rack. If you go this route, ensure it can bear the weight — a 20kWh battery system weighs 200kg+.
Option 2: Purpose-built metal enclosure
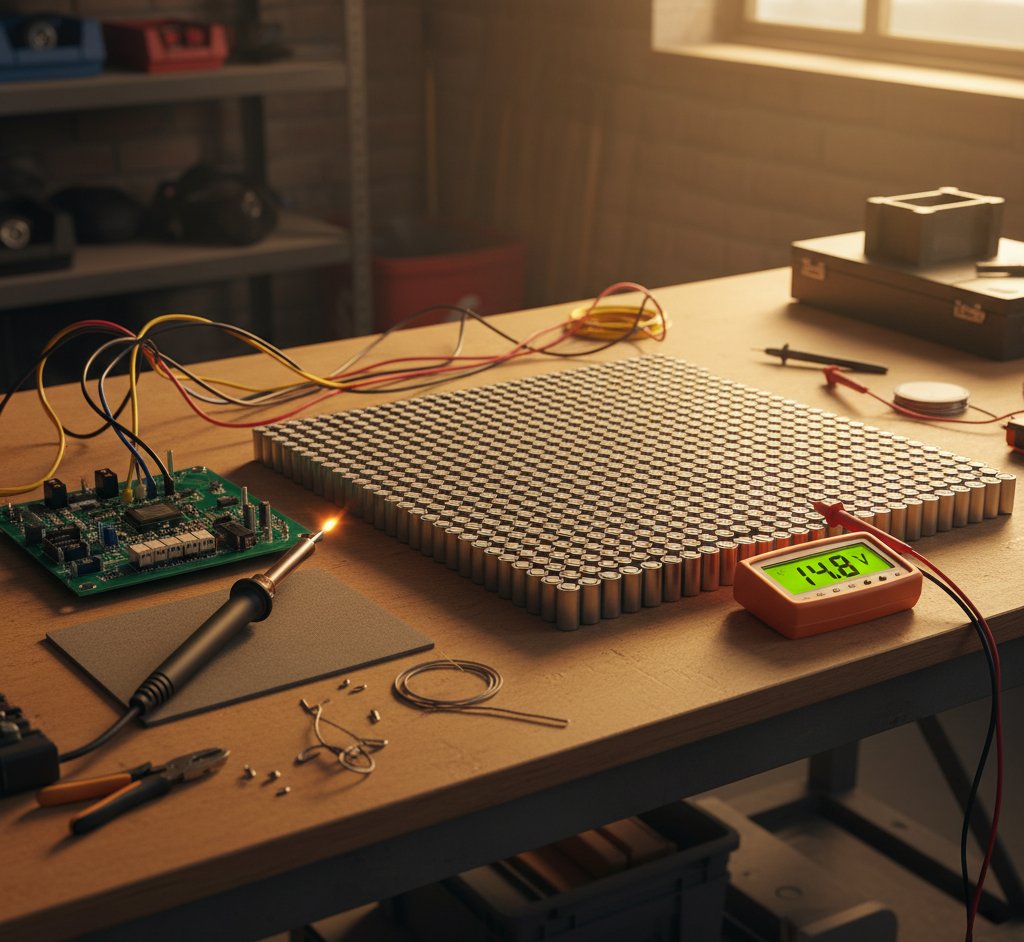
For cell-level builds (not using rack-mount modules), a custom metal enclosure is the professional approach.
Materials
- Steel sheet (1.5–2mm) — strong, fire-resistant, easy to cut and weld. The best option for DIY enclosures.
- Aluminium (2–3mm) — lighter but more expensive and harder to weld without specialist equipment.
Do NOT use:
- Wood (combustible)
- Plastic (combustible and may emit toxic fumes)
- Thin sheet metal (under 1mm — inadequate structural strength)
Design considerations
- Internal dimensions — allow 10–20mm clearance around the cells for airflow and wiring
- Access — removable or hinged top panel for maintenance access
- Terminal access — main power cables should exit through grommeted holes, not over sharp edges
- Drainage — if installing in a location where water could enter, add drain holes at the lowest point
- Mounting — the enclosure must be securely fixed to the wall or floor. A 10kWh battery weighs 50–60kg; you don't want it falling.
Option 3: IP-rated outdoor enclosures
If your only available location is outside (no garage, no utility room), you need a weatherproof enclosure.
Look for IP65-rated steel enclosures from electrical suppliers (Schneider Spacial, Rittal, or similar). These keep rain out while allowing controlled ventilation through filtered vents.
Key requirements for outdoor installation:
- IP65 minimum rating
- Ventilation with IP-rated filters (prevents water ingress while allowing airflow)
- UV-resistant finish (powder-coated steel)
- Thermal management — direct sun heats the enclosure significantly. Consider shade or a reflective cover.
- Insulation in winter — batteries should stay above 0°C during charging. Insulate the enclosure and consider a thermostatically controlled heater mat (10–20W is sufficient for a small insulated enclosure in UK winters).
Cost: £200–£500 for a suitable outdoor enclosure, plus thermal management.
Ventilation design
Why ventilation is essential
LiFePO4 cells vent hydrogen and electrolyte vapour if severely abused (overcharged, crushed, or internally shorted). The vented gas is flammable. An airtight enclosure traps this gas, creating an explosion risk.
Even during normal operation, batteries generate a small amount of heat that needs to dissipate.
Minimum ventilation
The general guidance for home battery installations:
- 100cm² of free ventilation area per 10kWh of battery capacity
- Ventilation at high level (vented gases are lighter than air)
- Ideally, ventilation at both high and low level to create natural convection
- No ignition sources (switches, contactors, unsealed relays) near ventilation outlets
Active vs passive ventilation
Passive ventilation (mesh grilles, louvred panels) is sufficient for most UK garage installations where ambient temperature stays below 25°C.
Active ventilation (thermostatically controlled fans) is recommended if:
- The enclosure is in a warm location (south-facing wall, above a boiler)
- The battery capacity exceeds 15kWh
- The enclosure is outdoors and subject to direct sun
- You're using NMC chemistry (second-life EV cells) which generates more heat
A 120mm PC-style fan with a thermostatic controller (set to activate at 30°C) costs under £20 and provides adequate airflow for most home installations.
Fire containment

Enclosure fire rating
The enclosure should contain a battery fire for long enough for detection and evacuation. A practical target is 30 minutes of fire resistance — matching the standard for fire-rated partitions in UK building regulations.
Achieving this:
- Steel enclosure (2mm): approximately 15–20 minutes fire resistance inherently
- Add 12.5mm fire-rated plasterboard lining: adds 30+ minutes
- Add 25mm calcium silicate board lining: adds 60+ minutes
Location fire rating
The surface behind and beneath the battery enclosure should be non-combustible:
- Concrete floor: ideal
- Concrete/brick wall: ideal
- Plasterboard wall: acceptable (plasterboard has inherent fire resistance)
- Wooden floor or shelving: add a non-combustible board (cement board, calcium silicate) between the enclosure and wood
Don't install batteries on escape routes
UK Building Regulations (Part B) require that escape routes remain clear and fire-resistant. Never install a battery enclosure in a hallway, stairwell, or any room that forms part of your escape route. If a battery fire blocks your exit, the consequences are severe regardless of chemistry.
Placement guidance
Ideal locations
- Garage — typically cool, well-ventilated, concrete floor, away from living spaces. The most popular location for UK DIY battery installations.
- Utility room — if it has adequate ventilation and is not on an escape route.
- Under-stairs cupboard — sometimes used for smaller systems, but check escape route compliance. This location is increasingly discouraged by fire safety guidance.
Avoid
- Bedrooms or living rooms
- Kitchens (heat from cooking, steam)
- Bathrooms (moisture)
- Lofts (extreme temperature swings, difficult access in emergency)
- Next to boilers or hot water cylinders
- Areas prone to flooding
Clearances
Maintain minimum clearances around the enclosure:
- 100mm on all sides for airflow
- 500mm clear access at the front for maintenance
- 300mm from any combustible storage (boxes, shelving with flammable contents)
Labelling
Label the battery enclosure with:
- "CAUTION: LITHIUM BATTERY STORAGE"
- Battery voltage and capacity
- Emergency disconnection procedure (location of isolator switch)
- Your name and contact number (for emergency responders)
This isn't a legal requirement for domestic installations, but it's best practice and helps anyone who needs to interact with the system — including firefighters.
Cost summary
| Enclosure option | Approximate cost |
|---|---|
| 12U server rack (basic) | £80–£150 |
| 18U server rack (enclosed) | £150–£250 |
| Fire-rated plasterboard lining | £20–£40 |
| Custom steel enclosure (fabricated) | £150–£300 |
| IP65 outdoor enclosure | £200–£500 |
| Ventilation fan + thermostat | £15–£25 |
| Heater mat (outdoor installs) | £20–£40 |
The enclosure is one of the cheaper components of a DIY battery build. Don't economise here — it's the containment barrier between your battery and your home.
The most popular rack-mount battery modules for server rack enclosures are these. Here's what we'd recommend:
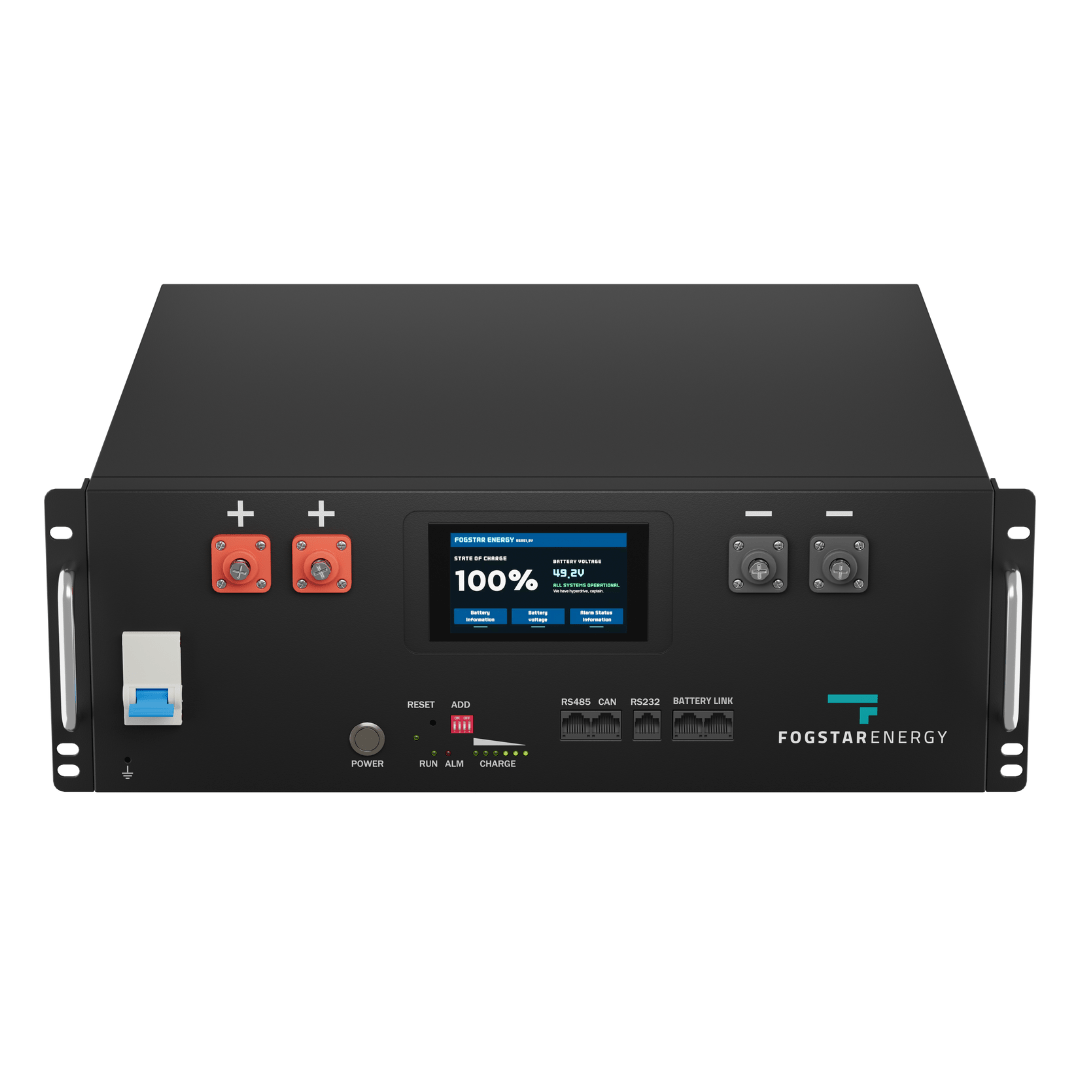
Fogstar Drift 5.12kWh LiFePO4 Battery
£1,5005.12
5
LFP
6000
Affiliate link — we may earn a small commission at no extra cost to you
A budget alternative that fits standard 19-inch racks:
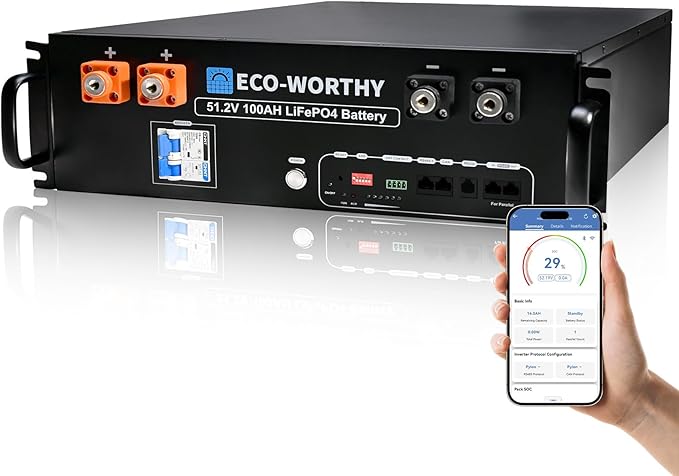
ECO-WORTHY 5.12kWh LiFePO4 Battery Module
£7005.12
4.9
LFP
4000
Affiliate link — we may earn a small commission at no extra cost to you
Share this article
OVO has carefully selected trusted teams across the UK to install solar panels and heat pumps. Enjoy the personal touch of a local expert with the peace of mind of a household name.
Affiliate link — we may earn a small commission at no extra cost to you
Stay informed
Get free solar updates direct to your inbox
Related reading

Battery Thermal Safety: Preventing Fires in DIY Solar Storage
Thermal safety for DIY LiFePO4 solar batteries in the UK — fire risks, prevention measures, ventilation, and what to do if something goes wrong.
DIY Battery Wiring & Fusing: Cable Sizing, Fuse Selection, and Safety
How to correctly wire and fuse a DIY LiFePO4 solar battery system in the UK — cable sizing, fuse types, isolators, and common mistakes to avoid.
DIY Battery Storage in the UK: Complete Beginner's Guide
A practical guide to building your own DIY solar battery storage system in the UK — costs, legality, components, and whether it's actually worth it in 2026.

Switch to Octopus Energy
Get 50 credit when you switch. We get 50 too — win-win.
What does this mean for YOUR home?
Design your perfect solar setup in under 3 minutes. Free, no sign-up required.
Build Your Solar System