This page contains affiliate links. If you purchase through them we may earn a small commission at no extra cost to you. Learn more
The Solar Panel Installation Process: Step by Step
Knowing what to expect from the solar installation process removes much of the uncertainty. From your first enquiry to generating your own electricity, here's what happens at each stage — and how long it typically takes.
Stage 1: Getting Quotes (Week 1–2)
Start by getting at least three quotes from different MCS-certified installers. Each will want to carry out a survey of your property — either in person or (increasingly) via satellite imagery and video call.
What installers assess:
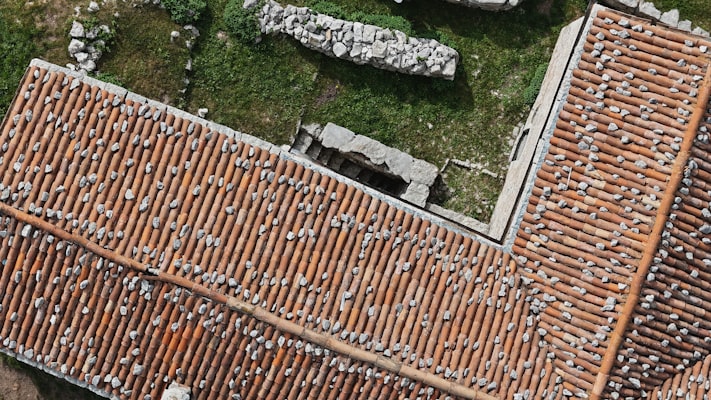
- Roof condition, material, and orientation
- Available roof space and shading
- Your current electricity usage
- Your consumer unit (fuse board) type and capacity
- Access for scaffolding
- Any planning considerations
What you should tell them:
- Your typical electricity usage (check your bills or smart meter data)
- Whether you're interested in battery storage
- Whether you plan to get an EV charger
- Any future plans (extension, re-roofing, loft conversion)
A good installer will size the system based on your actual needs, not just try to sell you the biggest system possible.
Compare Like for Like
When comparing quotes, check that each specifies the same or similar: number of panels, panel wattage, panel brand, inverter brand and type, and what's included in the price (scaffolding, DNO notification, MCS certification). Comparing a 3kW system with budget panels against a 4kW system with premium panels isn't meaningful.
Stage 2: Accepting a Quote and Pre-Installation (Week 2–4)
Once you've chosen an installer:
- Sign the contract — Read it carefully. It should specify the exact equipment, installation date, payment terms, and warranty provisions.
- Pay a deposit — Typically 10–25% of the total cost. Never pay 100% upfront.
- DNO notification — Your installer submits a G98 notification (or G99 application for larger systems) to your Distribution Network Operator. For systems under 3.68kW per phase, this is a notification only and doesn't need approval. For larger systems, the DNO may need to assess the impact on the local grid.
- Scaffolding arranged — Your installer books scaffolding erection, usually 1–2 days before installation day.
The DNO Step
The DNO (Distribution Network Operator) manages the electricity grid in your area. They need to know about your solar installation because you'll be feeding electricity back into the grid. For most domestic installations under 3.68kW (single phase), the installer simply notifies the DNO using a standard G98 form. This doesn't require approval — just notification.
For larger systems (3.68kW–16kW per phase), a G99 application is needed. The DNO has 45 working days to respond, which can extend the timeline.
Stage 3: Scaffolding (1–2 Days Before Installation)
Scaffolding goes up, typically covering the side of the house where panels will be installed. Standard scaffolding for a 2-storey house costs £300–600 and is usually included in your solar quote.
What to prepare:
- Clear access around the perimeter of the house on the installation side
- Move cars away from the work area
- Let neighbours know about the scaffolding (courtesy, not requirement)
- Secure pets that might access the scaffolded area
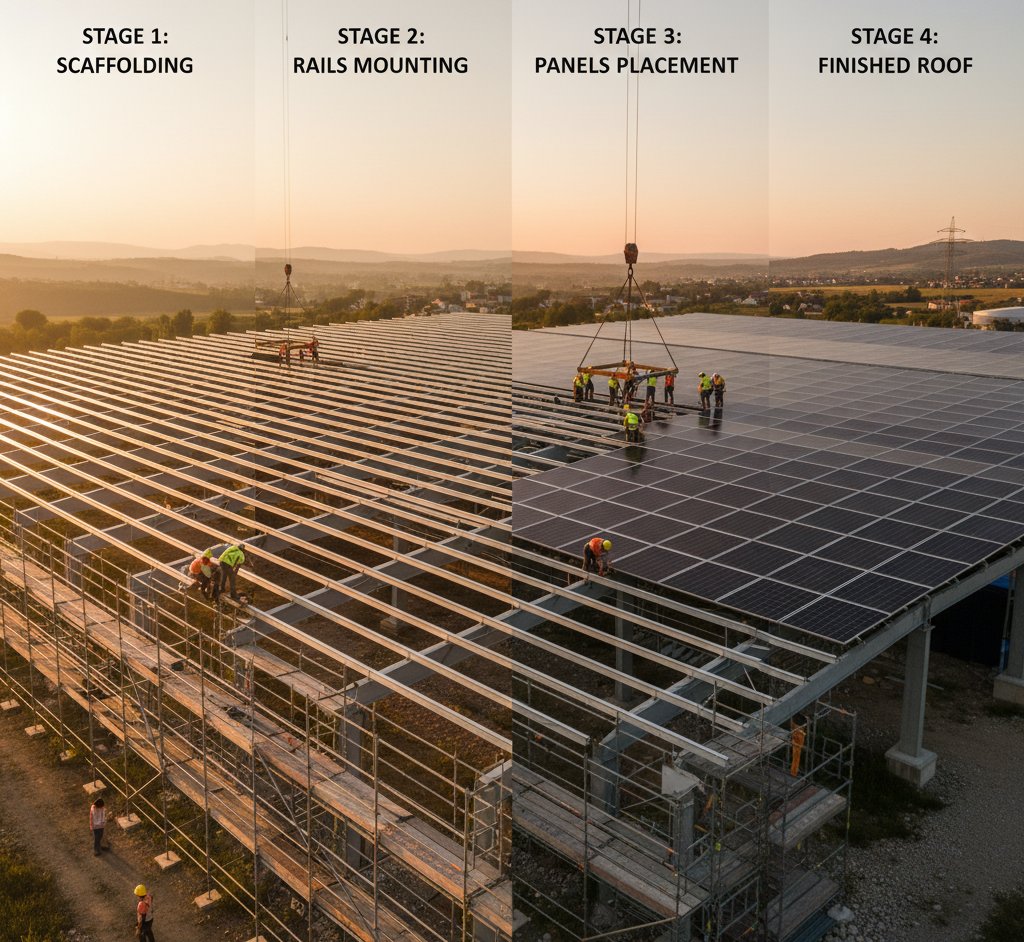
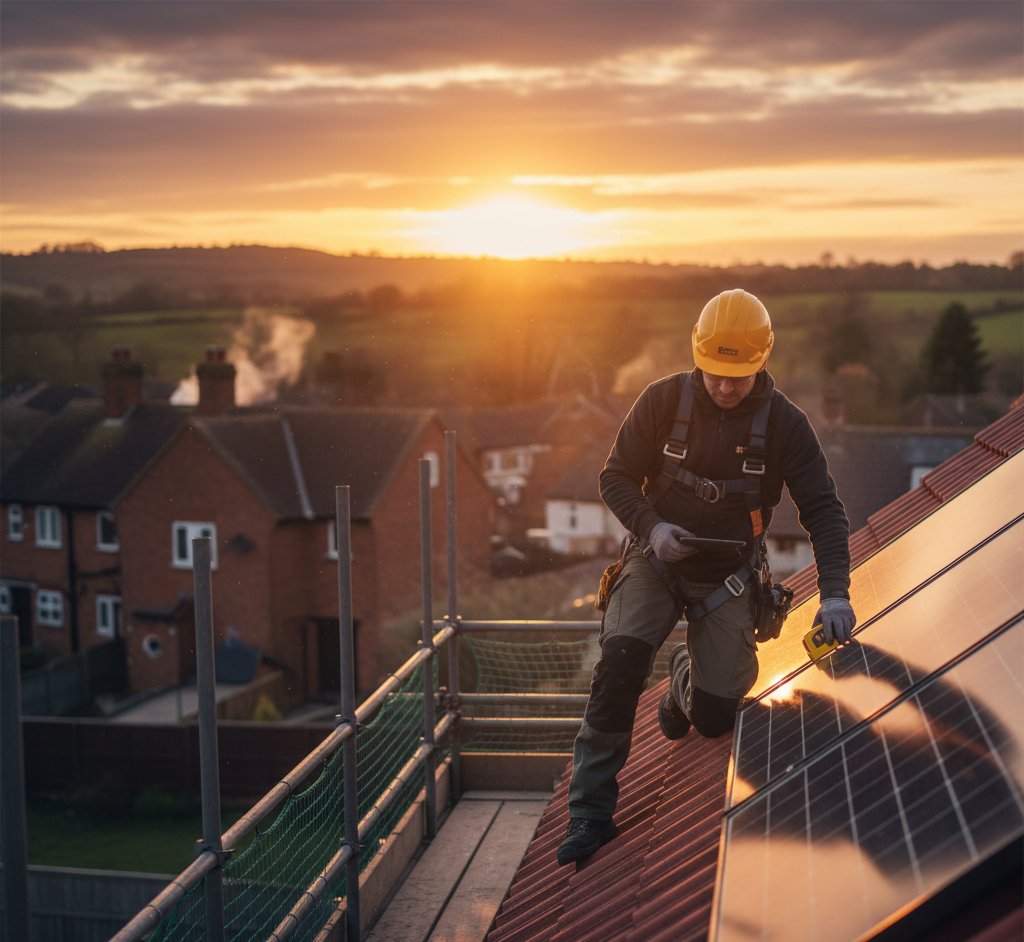
Stage 4: Installation Day (Usually 1 Day)
For a standard 4kW system (10 panels) on a straightforward pitched roof, installation takes one day with a crew of 2–3 installers. Here's what happens:
Morning: Roof Work
- Mounting rails installed — Brackets are screwed into the roof rafters through the tiles. The tiles are lifted, brackets attached, and tiles replaced. This is the step that takes the most care — proper sealing and flashing around penetrations prevents leaks.
- Rails fitted — Aluminium rails are attached to the brackets, creating a framework for the panels.
- Panels mounted — Each panel is clamped onto the rails. Micro-inverters (if used) are fitted behind each panel at this stage.
- DC cabling — Cables from the panels are run down the roof, through the wall or soffit, and into the house.
Afternoon: Electrical Work
- Inverter installed — The string inverter (if used) is mounted on an internal wall, typically in the garage, utility room, or loft. It should be accessible for monitoring and maintenance.
- AC connection — The inverter output is connected to your consumer unit (fuse board). This may require adding a dedicated circuit breaker.
- Generation meter — A generation meter is installed to record total electricity produced.
- Battery installation — If you're having a battery, this is connected to the hybrid inverter and configured.
- Testing and commissioning — The installer runs electrical tests, verifies the system is generating correctly, and checks all safety devices.
Power Outage
There will be a brief electricity outage (typically 30–60 minutes) while the installer connects to your consumer unit. This is normal. You'll be warned in advance. If you have a home alarm system, medical equipment, or work-from-home tech that can't tolerate an outage, plan accordingly.
Stage 5: Commissioning and Handover (Same Day)
At the end of installation day:
- System switched on — You'll see the inverter start up and show generation data
- Handover — The installer walks you through:
- How to read the inverter display
- How to set up the monitoring app
- How to shut down the system in an emergency
- What the generation meter shows
- Documentation — You should receive:
- MCS certificate
- Electrical installation certificate (BS 7671)
- Product warranties for panels and inverter
- As-built system diagram
- DNO notification confirmation
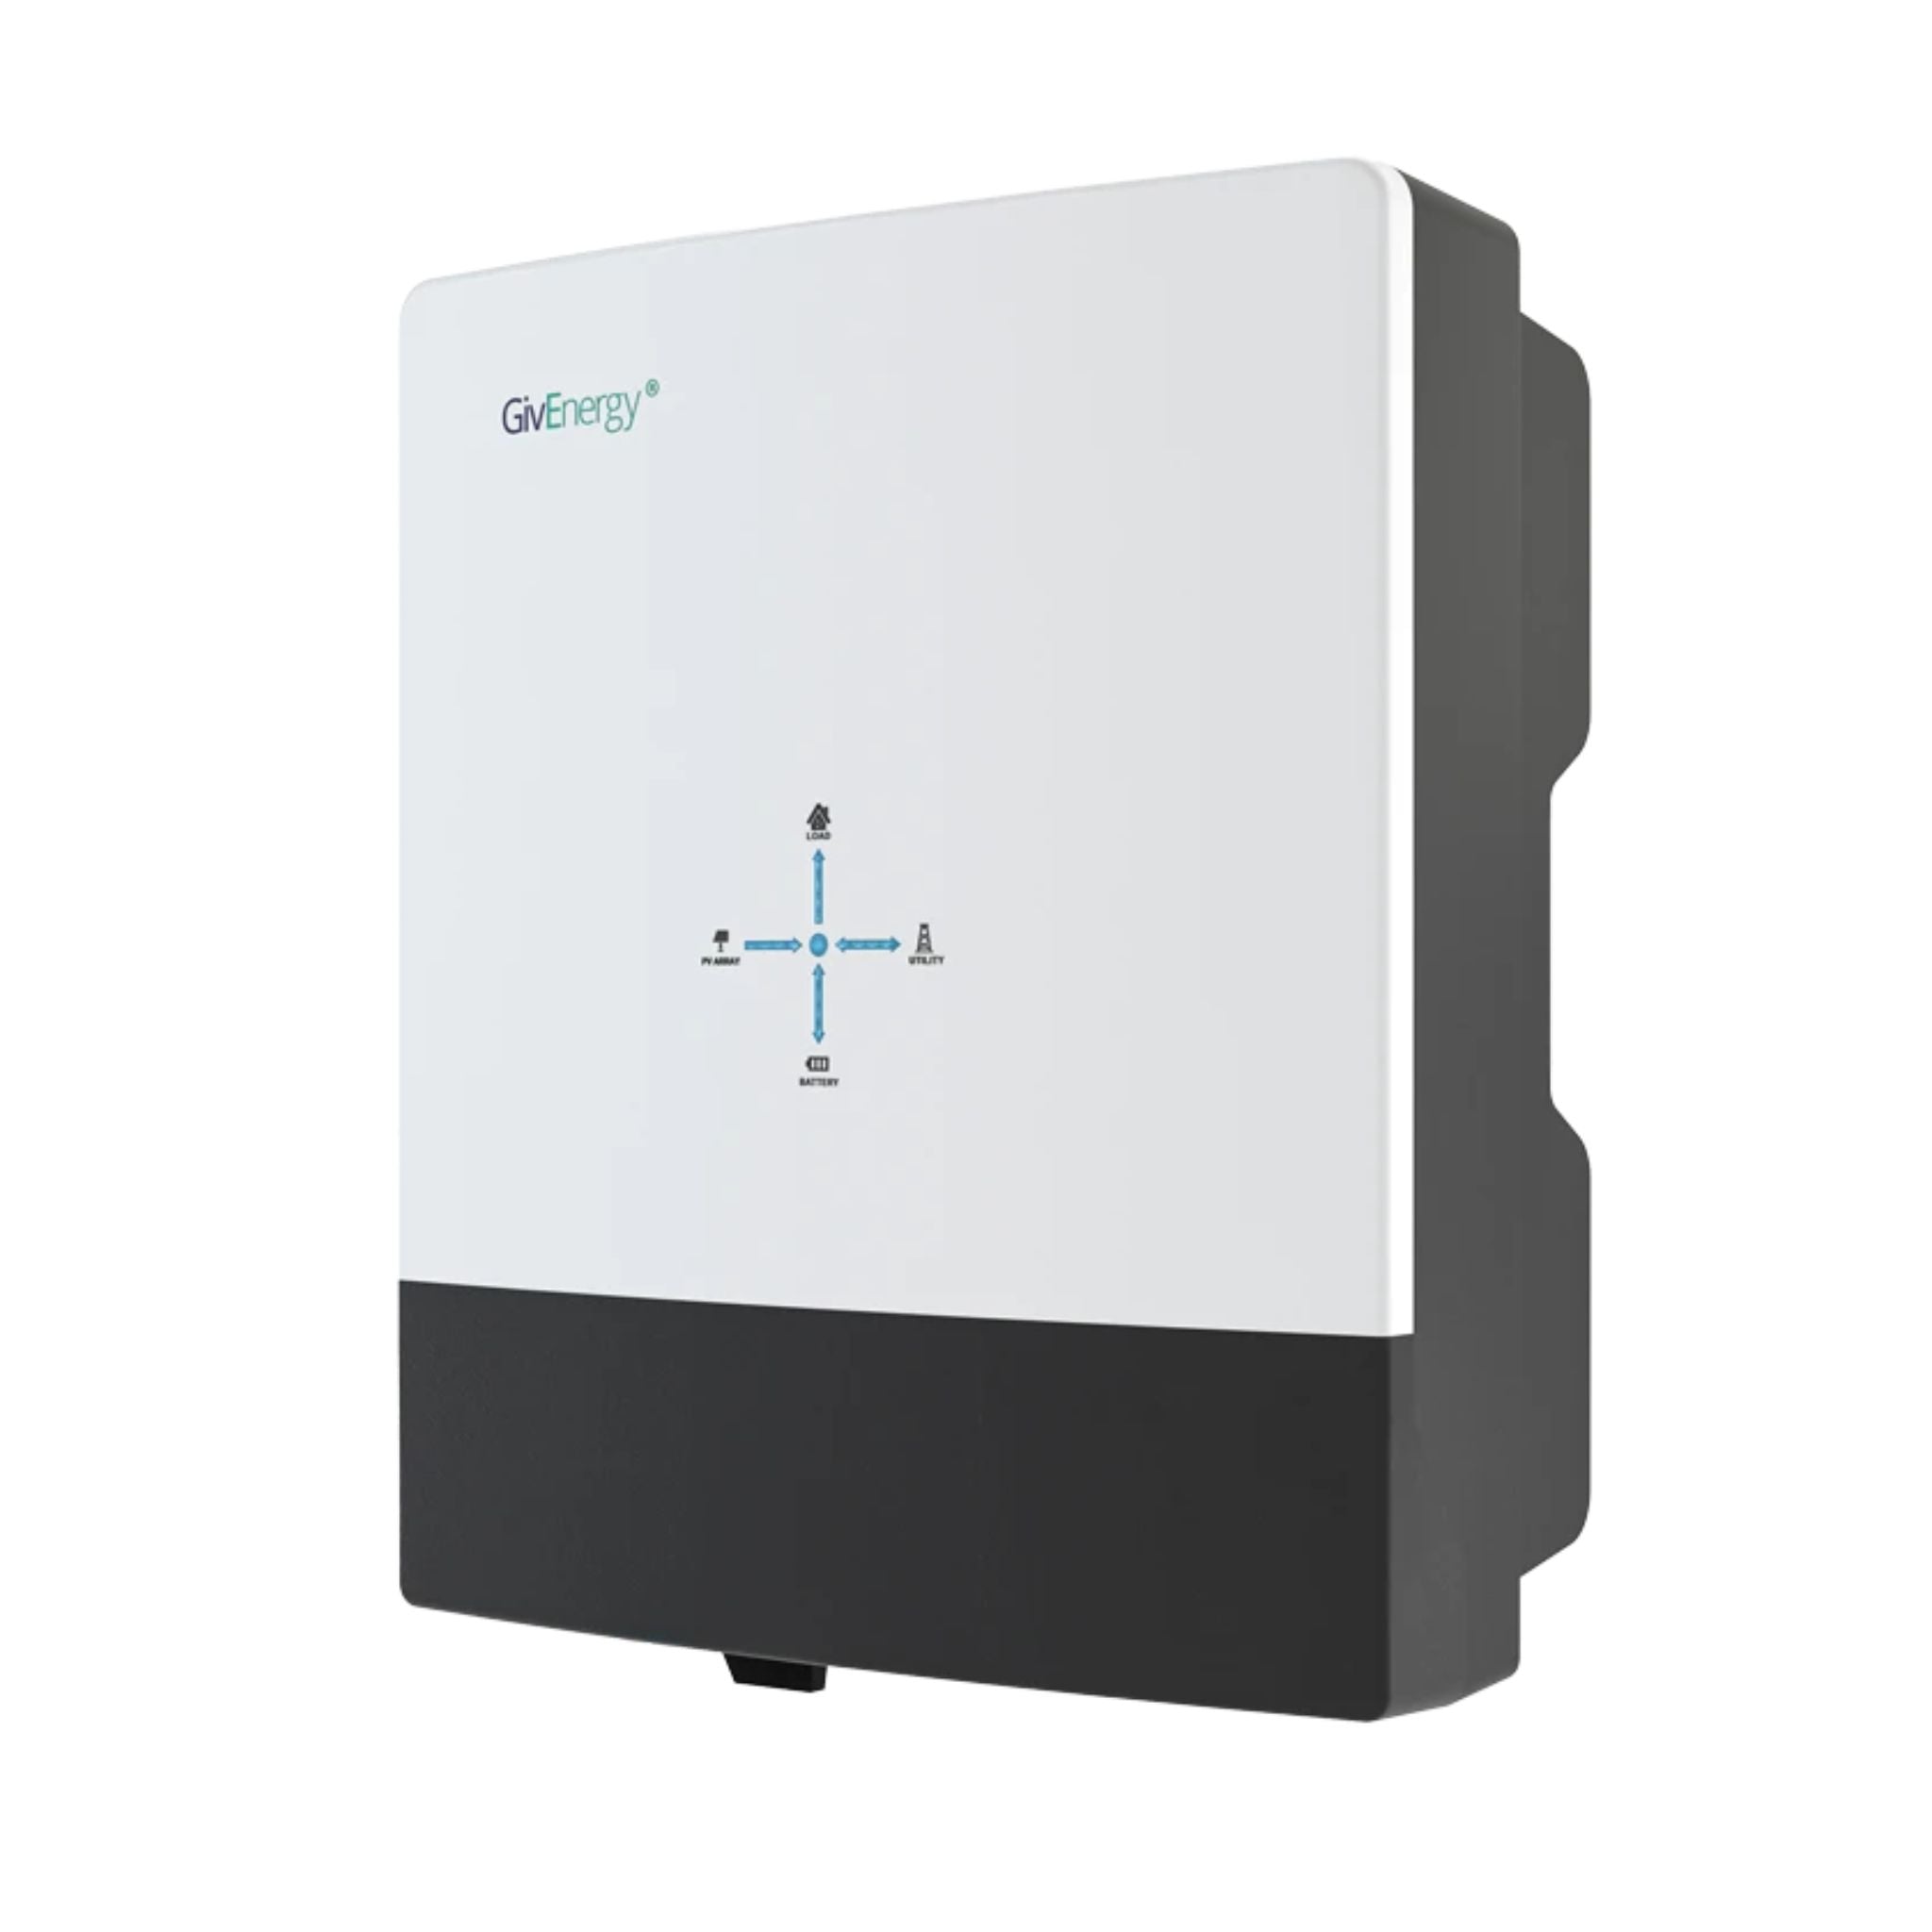
GivEnergy All-in-One 5kW Hybrid Inverter
£1,2005
7.5
2
48V
Affiliate link — we may earn a small commission at no extra cost to you
Stage 6: After Installation (Week 4–8)
MCS Registration
Your installer registers the system on the MCS database. This is essential for Smart Export Guarantee eligibility.
Smart Export Guarantee
Once MCS registration is complete, you can register with an energy supplier for the Smart Export Guarantee. This pays you for electricity exported to the grid. Rates vary by supplier — shop around for the best tariff.
Scaffolding Removal
Scaffolding comes down 1–3 days after installation, once the installer confirms no further roof access is needed.
Final Payment
Your contract will specify when the final payment is due — typically upon completion and commissioning. Never pay the final instalment until you're satisfied the system is working correctly and you've received all documentation.
JA Solar JAM54D41 450W N-type TOPCon
£82450
22.8
1722 x 1134 x 30
21.5
Affiliate link — we may earn a small commission at no extra cost to you
Timeline Summary
| Stage | Typical Duration |
|---|---|
| Getting quotes | 1–2 weeks |
| Accepting quote to install date | 2–4 weeks |
| Scaffolding up | 1 day (1–2 days before install) |
| Installation | 1 day (standard system) |
| Scaffolding down | 1 day (1–3 days after install) |
| MCS registration | 1–2 weeks after install |
| SEG registration | 1–2 weeks after MCS |
| Total: first enquiry to generating | 4–8 weeks |
Larger systems (5kW+), battery installations, or systems requiring G99 applications may take longer.
What Can Go Wrong?
Roof Issues Discovered on the Day
If the installer finds rotten rafters, inadequate structural support, or unexpected roof conditions during installation, work may pause while remedial work is arranged. A thorough pre-installation survey should catch most issues, but surprises occasionally happen.
DNO Delays
G99 applications for larger systems can take up to 45 working days. If the DNO identifies a constraint on the local network, they may impose conditions (like export limitation) that affect your system design.
Weather
Installers work in light rain but not in heavy rain, high winds, or icy conditions. Bad weather can delay installation by a day or two during winter months.
Share this article
OVO has carefully selected trusted teams across the UK to install solar panels and heat pumps. Enjoy the personal touch of a local expert with the peace of mind of a household name.
Affiliate link — we may earn a small commission at no extra cost to you
Stay informed
Get free solar updates direct to your inbox
Related reading
How Much Do Solar Panels Cost in the UK in 2026?
Realistic UK solar panel costs broken down by system size, installation, and what actually affects the price you'll be quoted.

How to Find a Good Solar Panel Installer
What to look for in a solar installer, why MCS certification matters, and the red flags that should make you walk away.
Getting Solar Panel Quotes: What to Expect
How many quotes to get, what a good solar quote looks like, the right questions to ask, and how to compare quotes properly.

Switch to Octopus Energy
Get 50 credit when you switch. We get 50 too — win-win.
What does this mean for YOUR home?
Design your perfect solar setup in under 3 minutes. Free, no sign-up required.
Build Your Solar System