This page contains affiliate links. If you purchase through them we may earn a small commission at no extra cost to you. Learn more
Home Assistant for Solar: Monitoring and Automation

Home Assistant is a free, open-source home automation platform that's become the tool of choice for UK solar enthusiasts who want to go beyond the basic manufacturer app. It can monitor generation, control batteries, optimise tariffs, and automate your entire energy system.
What Is Home Assistant?
Home Assistant (HA) is software that runs on a small computer in your home. It connects to smart devices, energy equipment, and online services, presenting everything in a single dashboard. For solar owners, it brings together data from:
- Your inverter (generation, battery state, grid import/export)
- Your energy supplier (tariff rates, half-hourly pricing)
- Your smart meter (real-time consumption)
- Your EV charger, heat pump, and other smart devices
The result: complete visibility and control over your energy system from one interface.
What You Need
Hardware
- Raspberry Pi 4 (4GB): ~£50. Adequate for most setups. Can be slow with many integrations.
- Mini PC (Intel NUC or similar): ~£100–£200. More powerful, more reliable for complex setups.
- Home Assistant Green: ~£85. Official HA hardware, purpose-built.
Software
- Home Assistant Operating System (free) — the complete package
- Or Home Assistant Container (free) — for running alongside other software on Linux
Network
- Wired Ethernet connection to your router (recommended)
- Same local network as your inverter
Getting Started with Solar Monitoring
Step 1: Install Home Assistant
Flash the Home Assistant OS image to a microSD card (Raspberry Pi) or USB drive (mini PC), boot it up, and follow the web-based setup wizard. Takes about 30 minutes.
Step 2: Add Your Inverter Integration
GivEnergy: Install the GivEnergy Cloud integration from HACS (Home Assistant Community Store) or use the GivTCP local integration for real-time data without cloud dependency.
Solis: Use the Solisinverters integration or SolisCloud API integration.
SolarEdge: Native HA integration available — add via the Integrations page.
Fox ESS: Community integration via HACS, or use the Fox ESS cloud API.
Enphase: Native HA integration for Enphase microinverter systems.
Growatt: Community integration via HACS.
Step 3: Set Up the Energy Dashboard
Home Assistant has a built-in Energy Dashboard that shows:
- Solar generation (daily, weekly, monthly)
- Grid import and export
- Battery charge/discharge
- Self-consumption rate
- Cost savings
Configure it by mapping your inverter's sensors to the energy dashboard categories. This typically takes 10–15 minutes once the integration is working.
Use the Energy Dashboard First
Before building custom dashboards, set up the built-in Energy Dashboard. It's well-designed, automatic, and gives you a clear overview. You can build custom dashboards later for specific needs — but the Energy Dashboard covers 80% of what most people want.
Useful Automations
1. Load Shifting to Solar Hours
Automatically run high-consumption devices when solar generation exceeds household consumption:
- Washing machine/dishwasher: Trigger a smart plug to power on when surplus exceeds 1kW
- EV charging: Start charging when surplus is available, stop when it drops
- Immersion heater: Supplement or replace an Eddi by controlling the immersion via a smart relay
2. Battery Management
Override your inverter's default battery schedule based on conditions:
- Charge battery overnight when tomorrow's solar forecast is poor
- Hold battery charge for expensive peak periods
- Discharge battery during Octopus peak pricing windows
- Reserve battery capacity if a power cut is forecast
3. Tariff Optimisation
If you're on Octopus Agile or Flux:
- Buy cheap electricity during negative/low pricing periods
- Avoid importing during expensive half-hours
- Export stored solar during high-price windows
- Send notifications when prices drop below a threshold
4. Weather-Responsive
Using weather forecast integrations:
- Pre-heat hot water before cloudy days (when solar will be limited)
- Delay EV charging to tomorrow if sunny weather is forecast
- Adjust battery charge strategy based on expected solar generation
The Predbat Integration
For the most sophisticated battery automation, install Predbat — a Home Assistant add-on that automatically optimises your battery schedule based on:
- Solar generation forecast (via Solcast)
- Electricity pricing (Octopus Agile/Flux)
- Your household consumption patterns
- Battery capacity and efficiency
Predbat is essentially a "set and forget" optimiser that can save £200–£500/year on energy costs by making perfect battery decisions 48 hours ahead. See our Predbat guide for full details.

Building Custom Dashboards
Beyond the Energy Dashboard, you can create custom views:
Real-Time Energy Flow
A visual diagram showing power flowing between panels, battery, grid, and household. Several custom cards (e.g., Tesla Style Solar Card, Power Flow Card Plus) provide attractive real-time visualisations.
Financial Dashboard
Track daily/monthly savings, SEG income, tariff costs, and running totals. Combine data from your inverter and energy supplier API to calculate exact financial benefits.
Historical Analysis
Graphs and charts showing generation patterns, self-consumption trends, and seasonal variations. Useful for spotting problems (is one panel underperforming?) and optimising behaviour.
Common Integrations for UK Solar Owners
| Integration | Purpose | Setup Difficulty |
|---|---|---|
| Octopus Energy | Tariff rates, usage data, account info | Easy |
| Solcast | Solar generation forecast | Easy (free for home users) |
| GivTCP | Local GivEnergy inverter control | Moderate |
| Predbat | Automated battery scheduling | Moderate |
| myenergi | Zappi/Eddi monitoring and control | Easy |
| Met Office | Weather forecast for planning | Easy |
| Hildebrand Glow | Smart meter real-time data | Easy |
The Learning Curve
Let's be honest: Home Assistant has a learning curve. It's not a polished consumer product — it's a powerful tool that rewards investment in learning.
Week 1: Install, add basic integrations, set up the Energy Dashboard. You can see your solar data.
Week 2–4: Explore automations. Start with simple ones (notifications when generation exceeds a threshold) and build complexity.
Month 2+: Add Predbat, Solcast forecasting, custom dashboards. This is where the real value emerges.
Don't Over-Automate Too Early
It's tempting to build complex automations immediately. Start simple — monitor first, automate later. Understanding your energy patterns through observation is more valuable than guessing at automations. Many new HA users build complex systems that don't actually save money because they didn't understand their baseline usage first.
For the best Home Assistant integration, these products offer excellent API support:
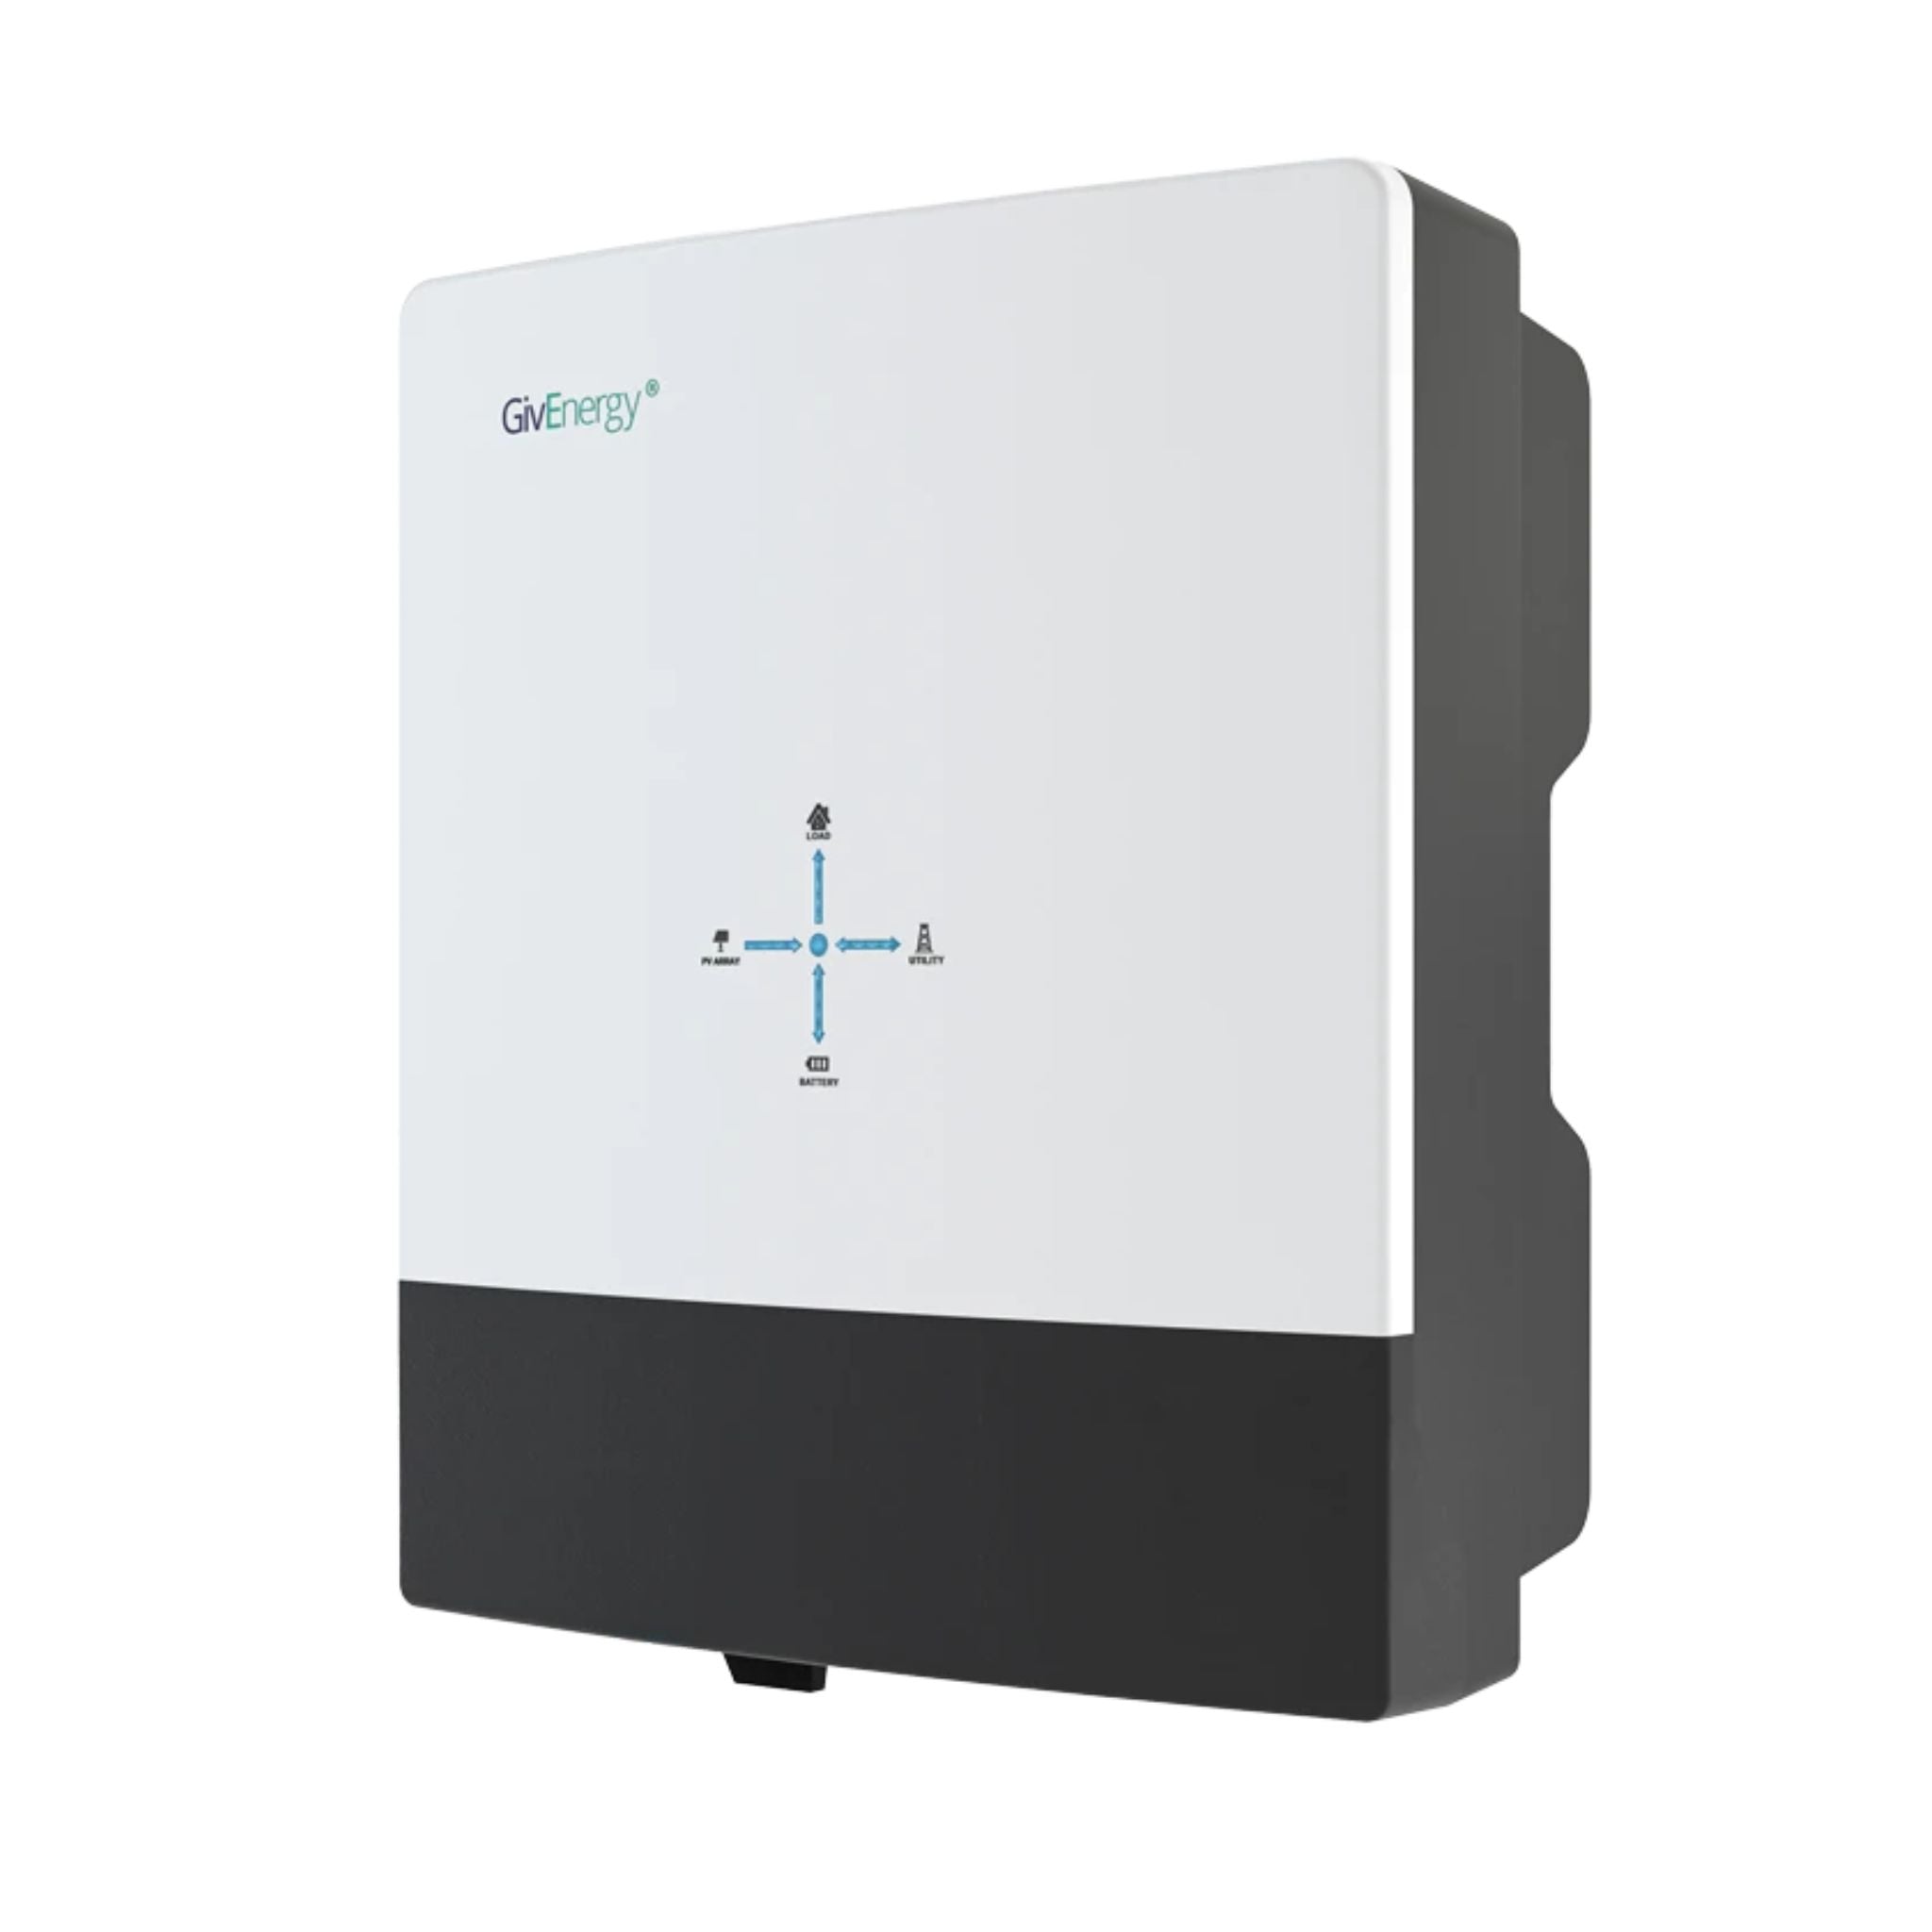
GivEnergy All-in-One 5kW Hybrid Inverter
£1,2005
7.5
2
48V
Affiliate link — we may earn a small commission at no extra cost to you
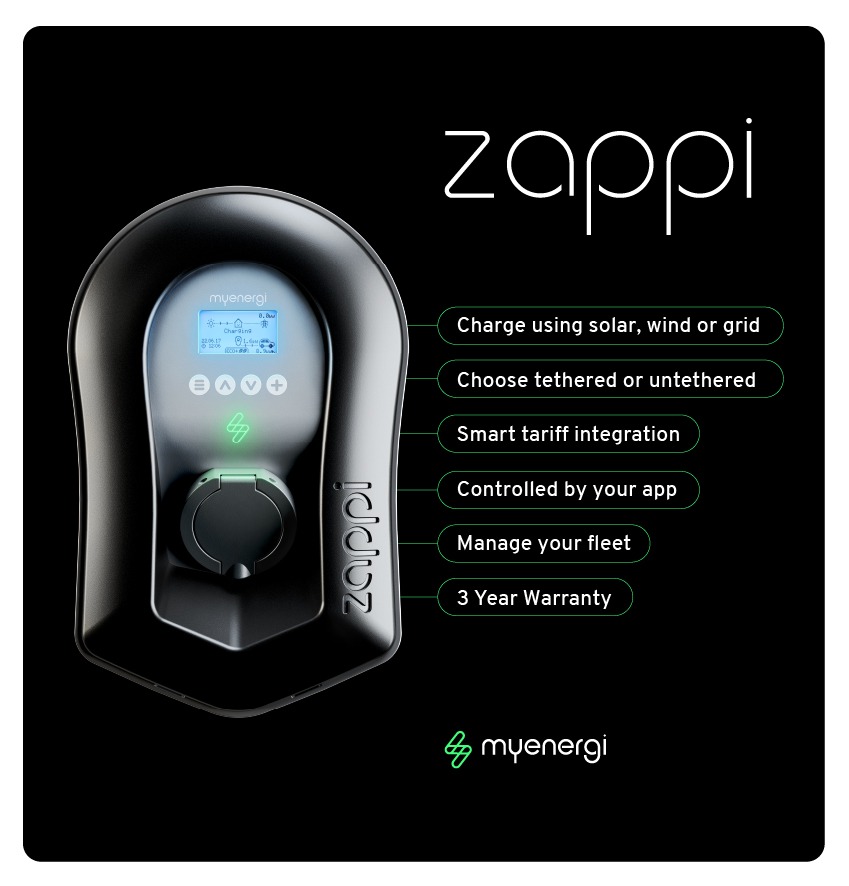
myenergi Zappi 22kW EV Charger
£78022
7.4
22
fast,eco,eco_plus
Affiliate link — we may earn a small commission at no extra cost to you
Is It Worth It?
For a UK solar owner with a battery on a smart tariff:
- Hardware cost: £50–£200 (one-off)
- Annual saving from optimisation: £200–£500
- Payback: Under 1 year
Even without financial optimisation, the visibility and understanding you get from Home Assistant helps you make better decisions about when and how you use electricity. Most users report that just seeing real-time energy data changes their behaviour in ways that save money.
For specific integration guides, see our articles on GivTCP, Octopus API, and Predbat.
Share this article
The UK's fastest boiler installation service — from quote to fitted in as little as 24 hours. Award-winning, Trustpilot rated, with no pushy salesmen.
Affiliate link — we may earn a small commission at no extra cost to you
Stay informed
Get free solar updates direct to your inbox
Related reading

Predbat: Automated Battery Scheduling for Octopus Tariffs
Predbat automates your home battery to maximise savings on Octopus Agile, Flux, and other time-of-use tariffs. Setup guide, how it works, and realistic savings.
GivEnergy API and GivTCP: Local Control for Your Battery
Control your GivEnergy battery locally with GivTCP and the GivEnergy API. Set up Home Assistant integration for real-time monitoring and automated scheduling.

Octopus Energy API: Automating Your Solar Setup
Use the Octopus Energy API to automate your solar and battery system. Access real-time pricing, consumption data, and account information for smarter energy management.

Switch to Octopus Energy
Get 50 credit when you switch. We get 50 too — win-win.
What does this mean for YOUR home?
Design your perfect solar setup in under 3 minutes. Free, no sign-up required.
Build Your Solar System